
for some reason i have the hardest time finding hats i fancy for paisley. it very well could be because i am just way too picky. whatever the reason, it led me to this decision the other day-'I SHALL SEMI-HOMEMAKE MY OWN HAT.' yes i just typed that in all caps. i loved how the hat came out...


it is a very uncomplicated project and one that you can involve your children in by letting them choose their color and style hat and also the fabric for a flower, or an applique'.
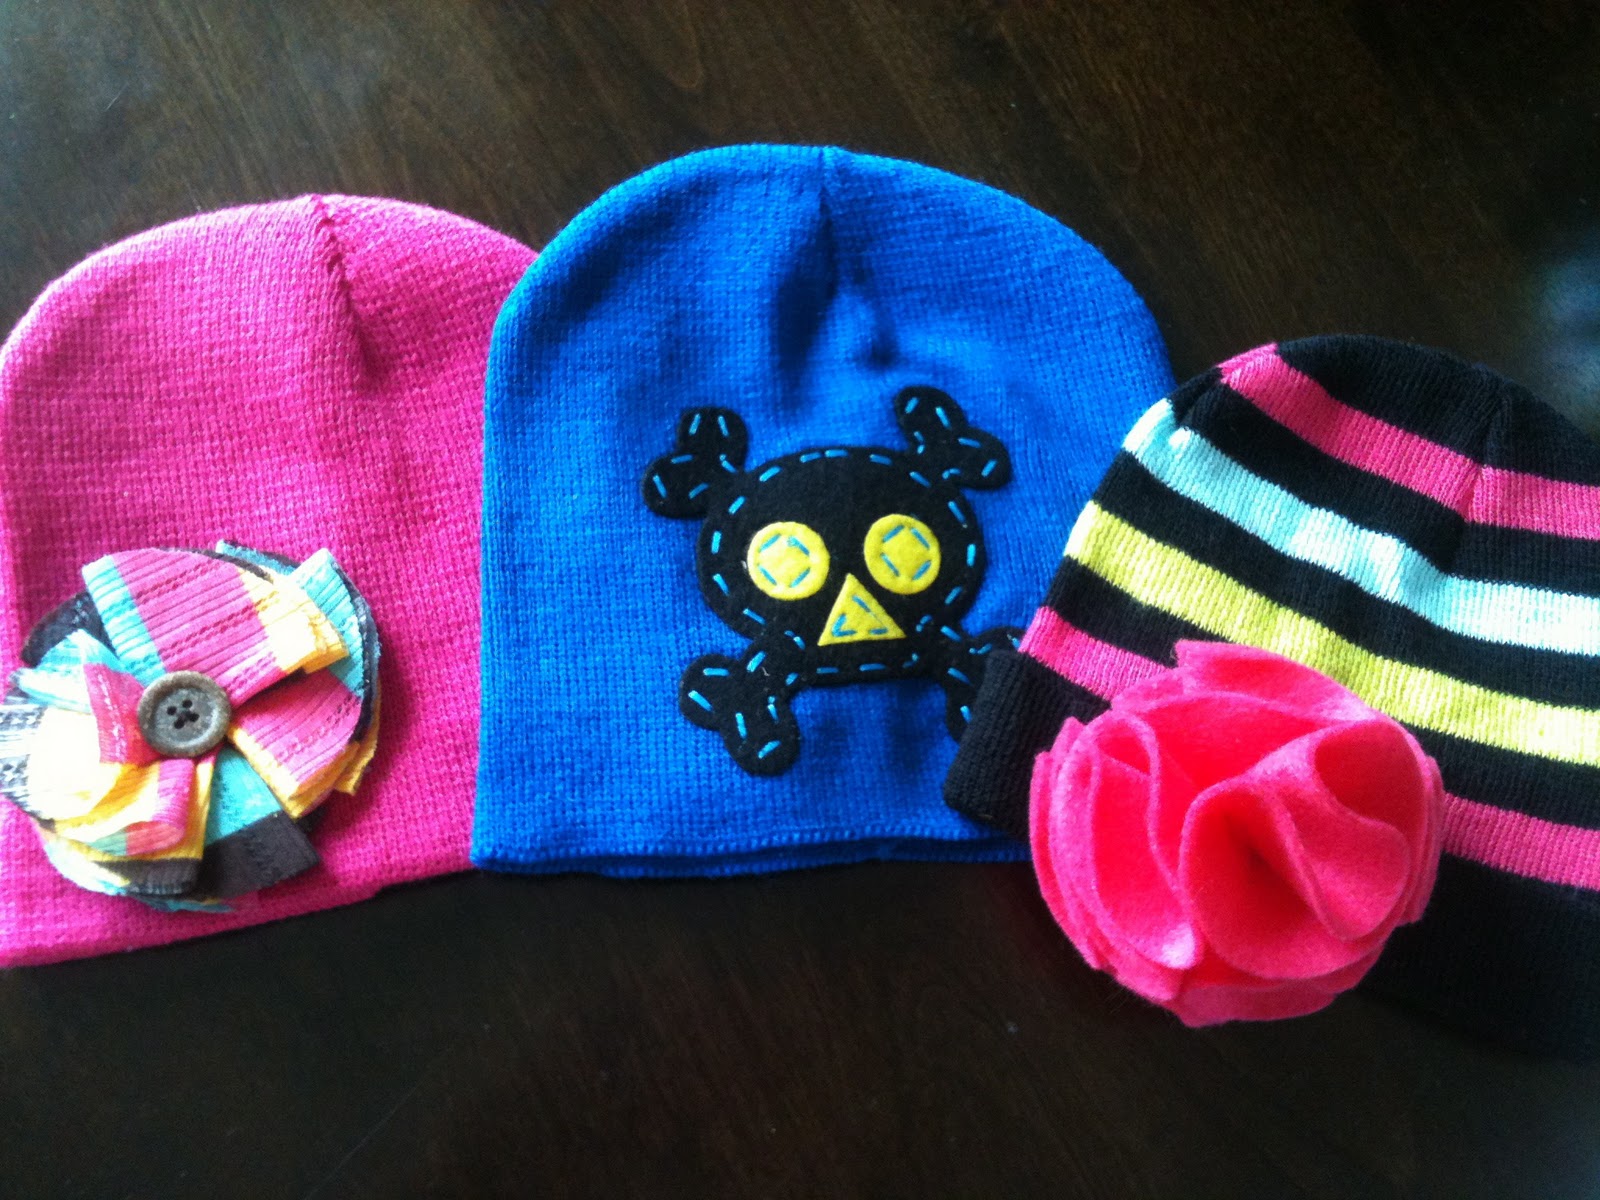
here is a simple tutorial on how you can semi-homemake a fashionable hat for your kids!
winter hat project
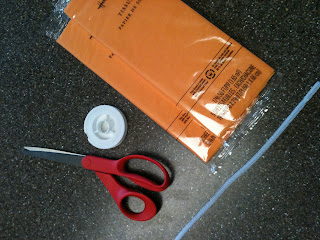
what you'll need:
 |
1. hat of your choice(mine were $1!) 2. either a flower or iron on applique' 3. hot glue gun 4. iron |
hat with an applique'
step #1

evaluate the size of your hat. if the hat is to large you may have to do some adjusting. the hat i chose was just the right size so no adjusting needed!
step #2

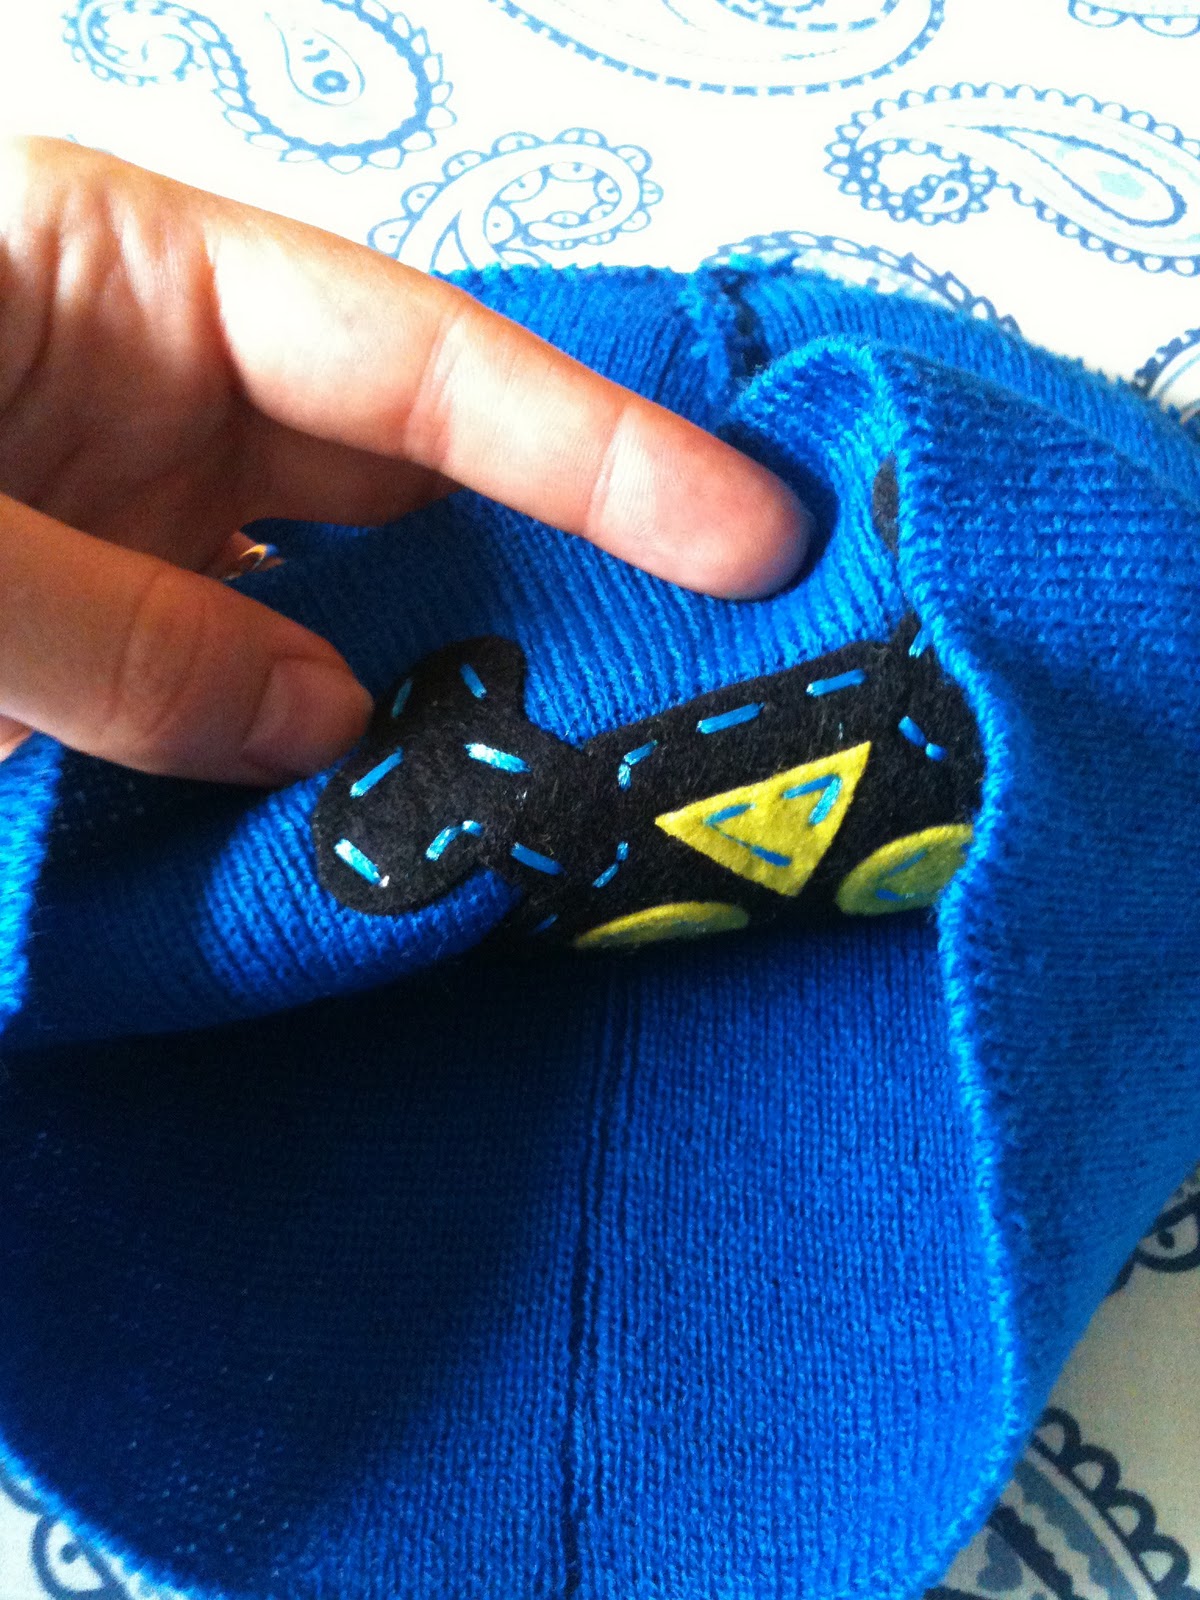
decide wether you would like to use an applique' or flower on your hat. for this one i chose an iron on applique' which works great for boys! position the design where you like on the hat.
step #3

place a light pressing cloth over the design and hold for approximately 30 seconds. if your hat is a thicker material you may need to press it a bit longer.
step#4
reverse the fabric and repeat the ironing process!
hat with a flower
step#1
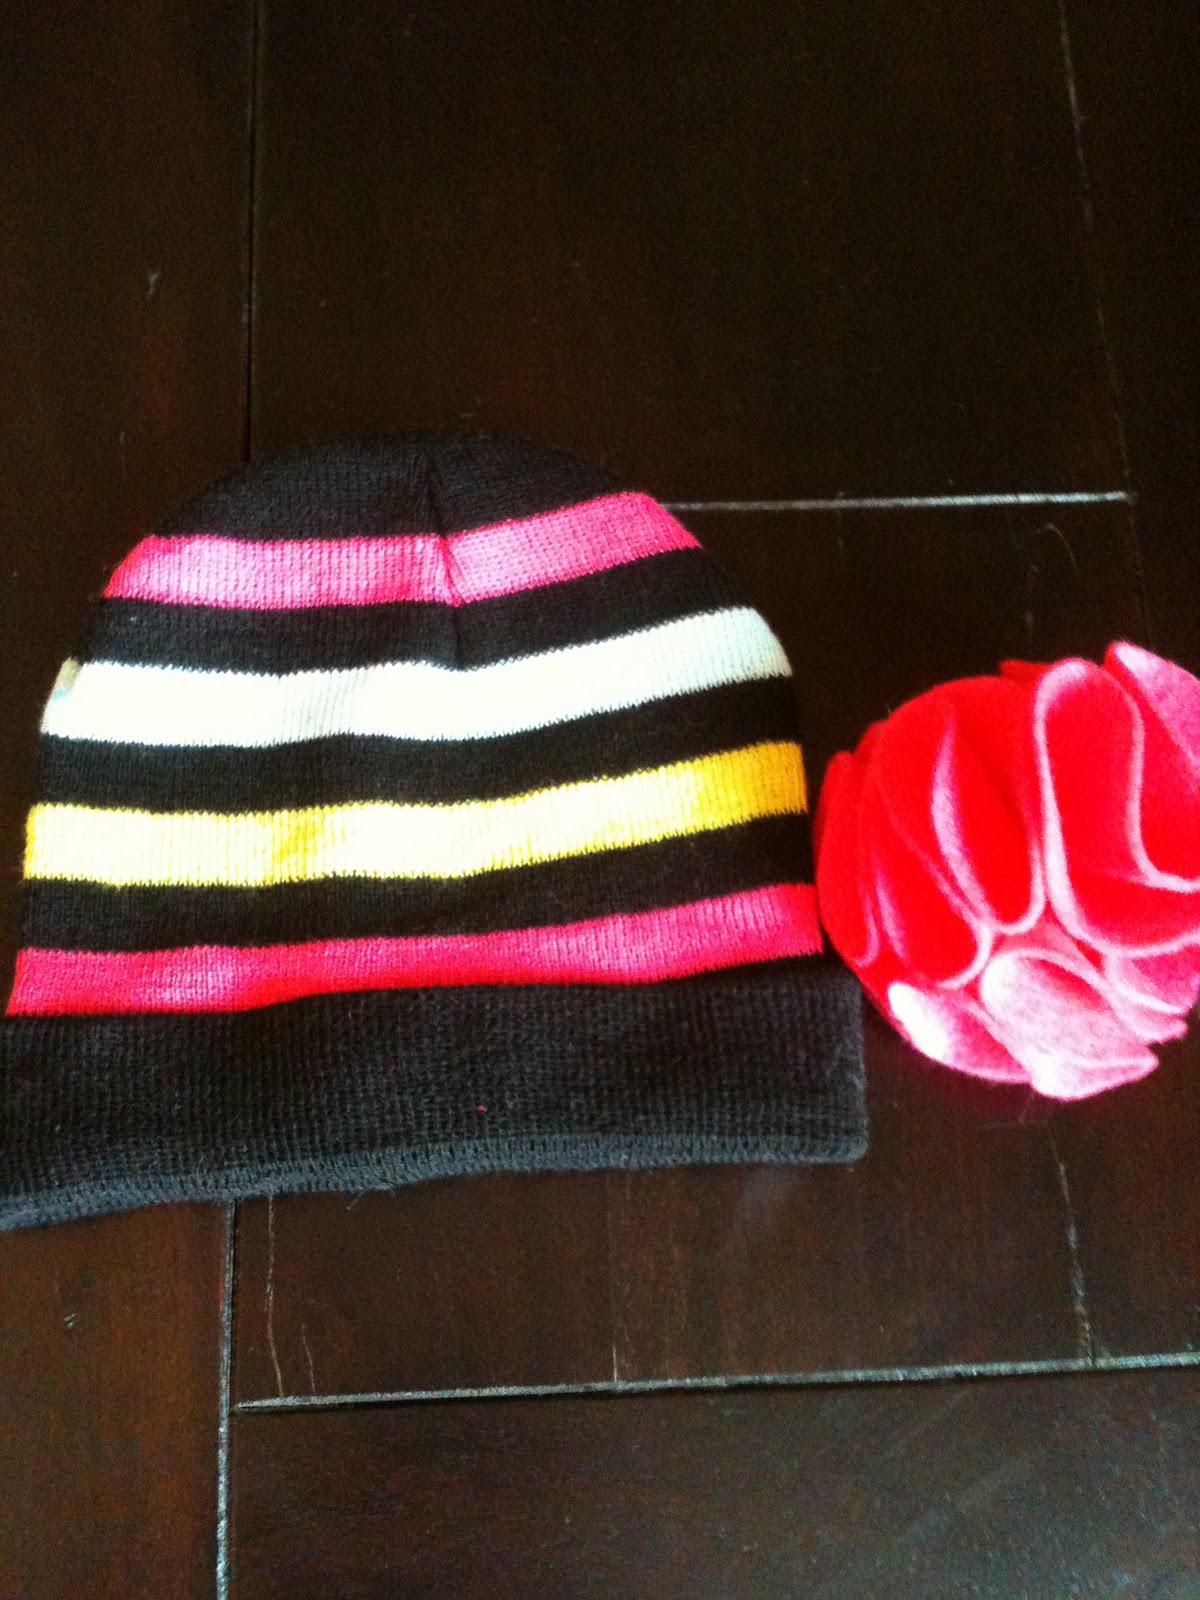
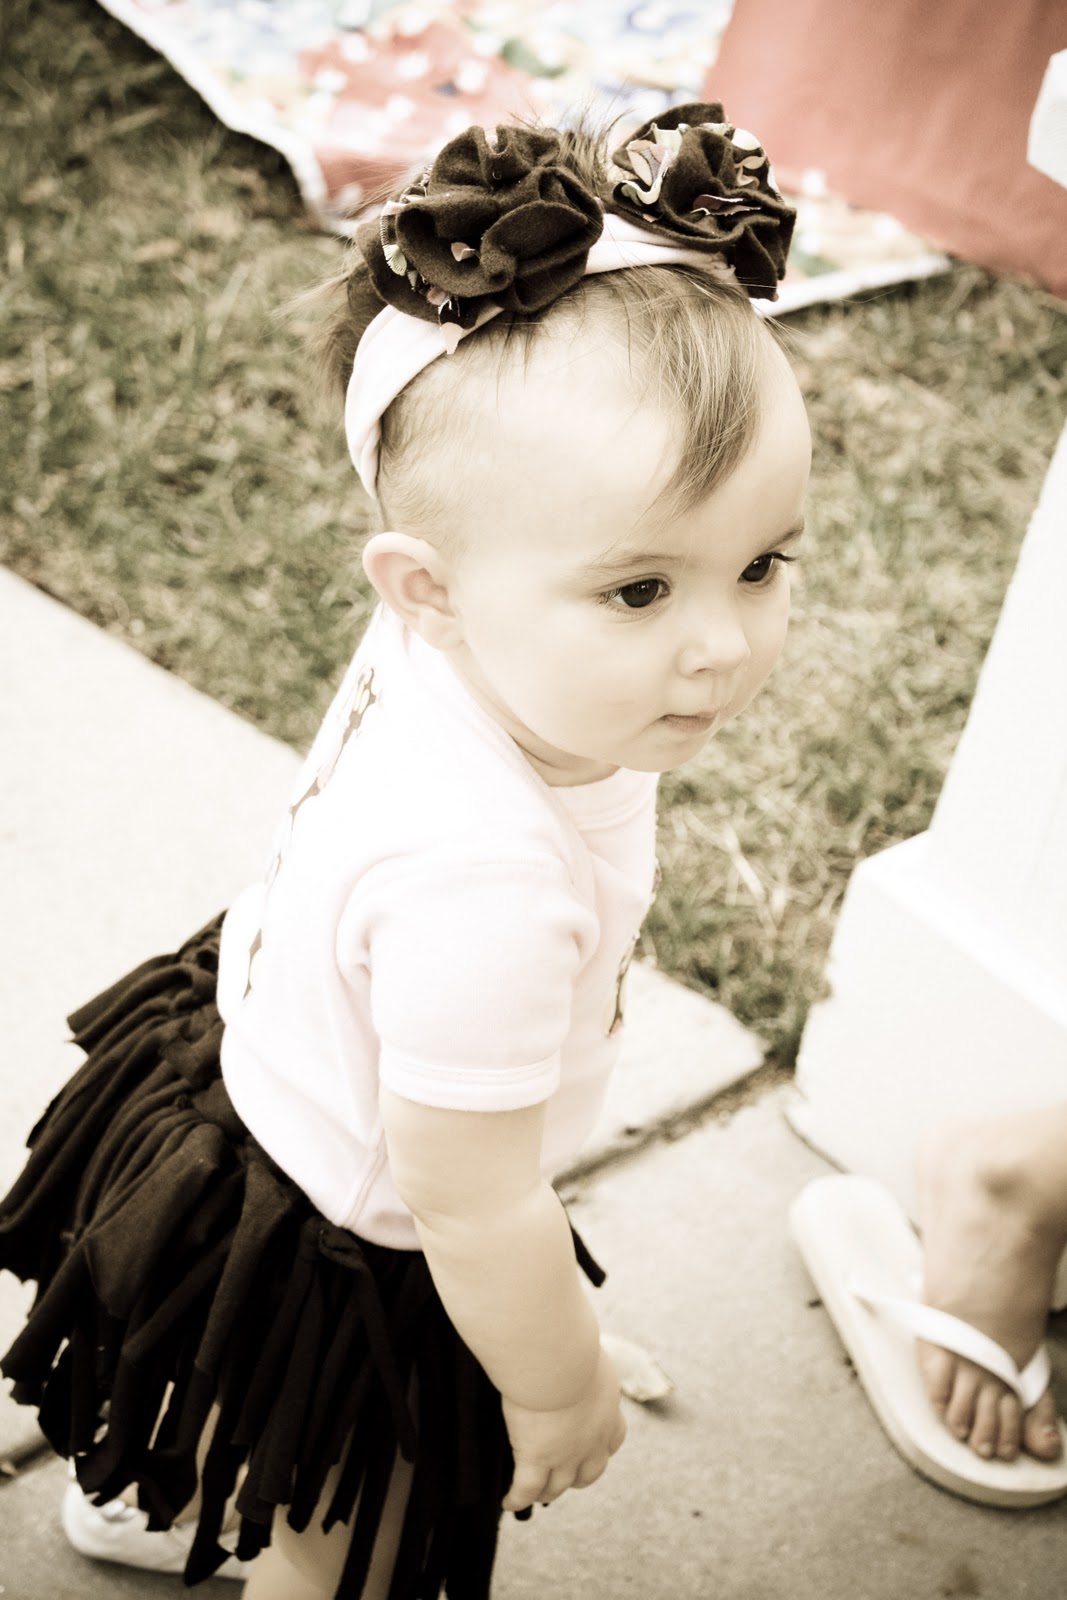
choose your hat and flower design. i chose a flower i had previously made but you could use anything from 'store bought' to something homemade!
step #2


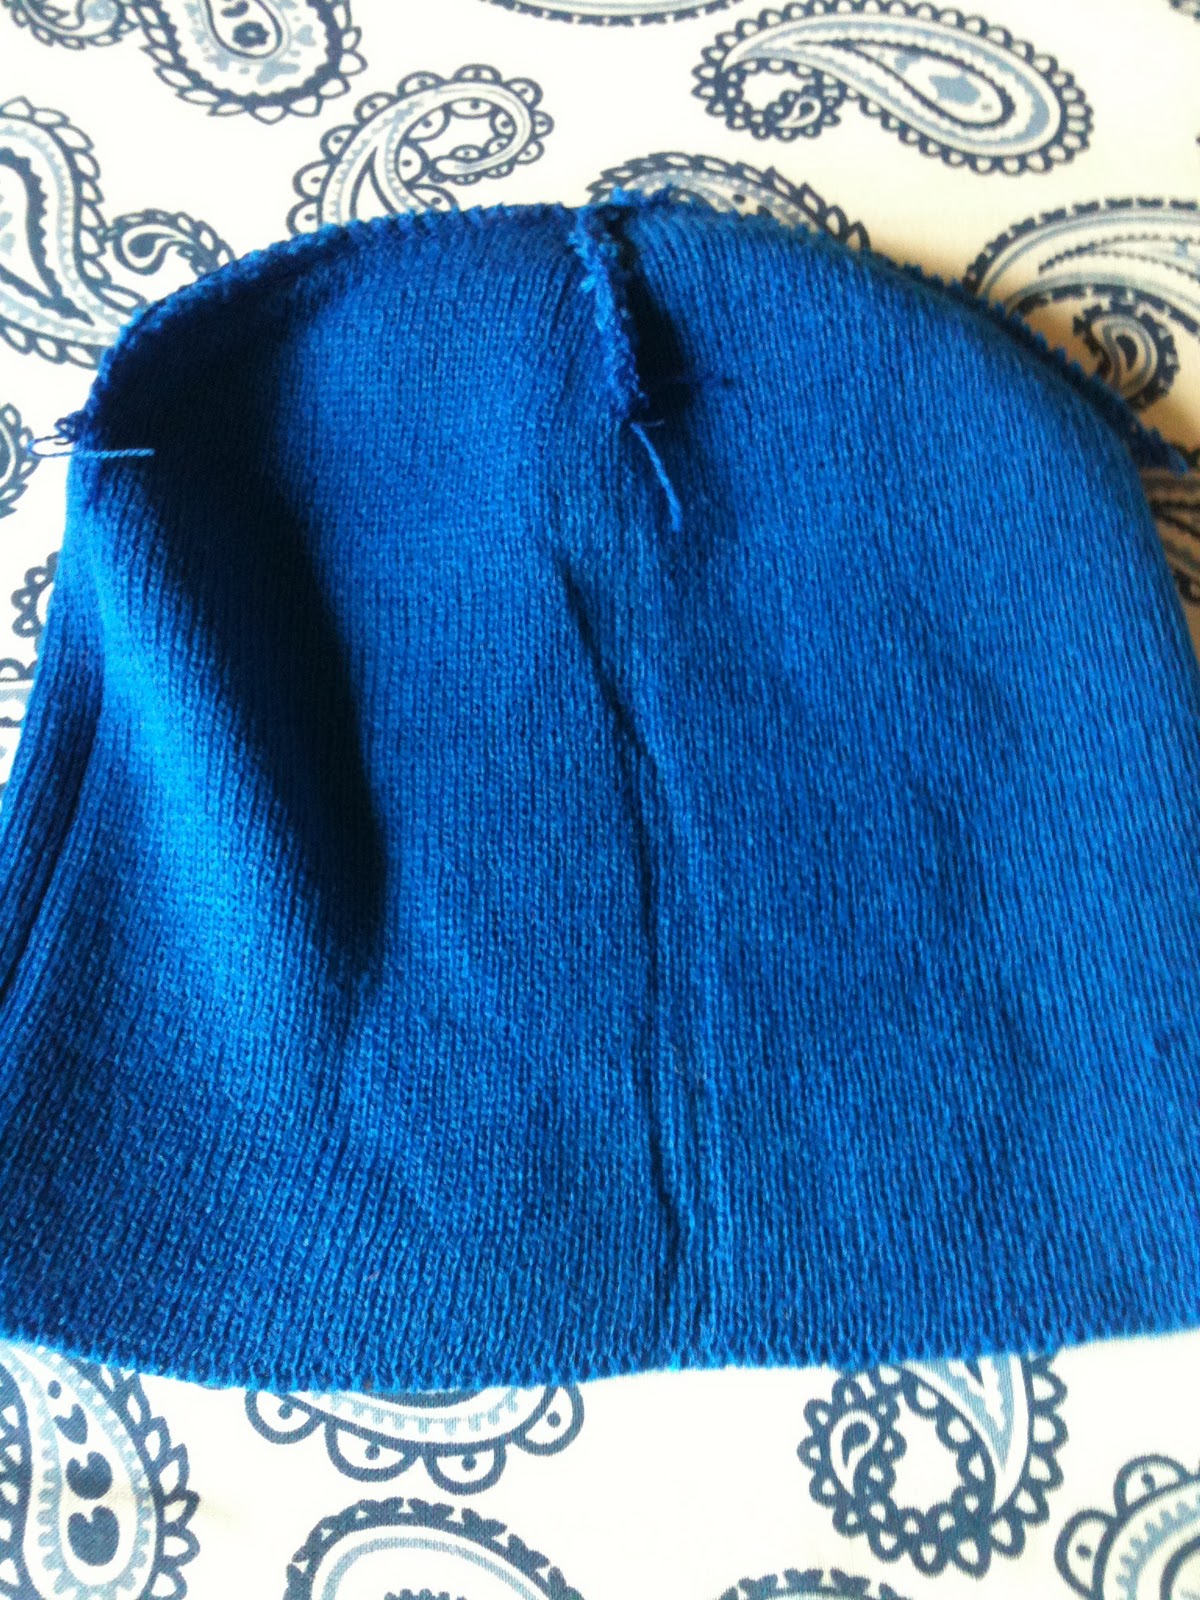
adjust the size of your hat if needed. this hat was a pinch to long so i folded it up.
step#3

add a bit of hot glue to the crease of your fold to secure it.


hot glue or clip on your favorite flower or bow!
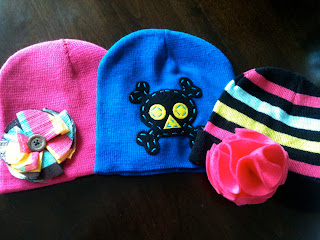
finished product:


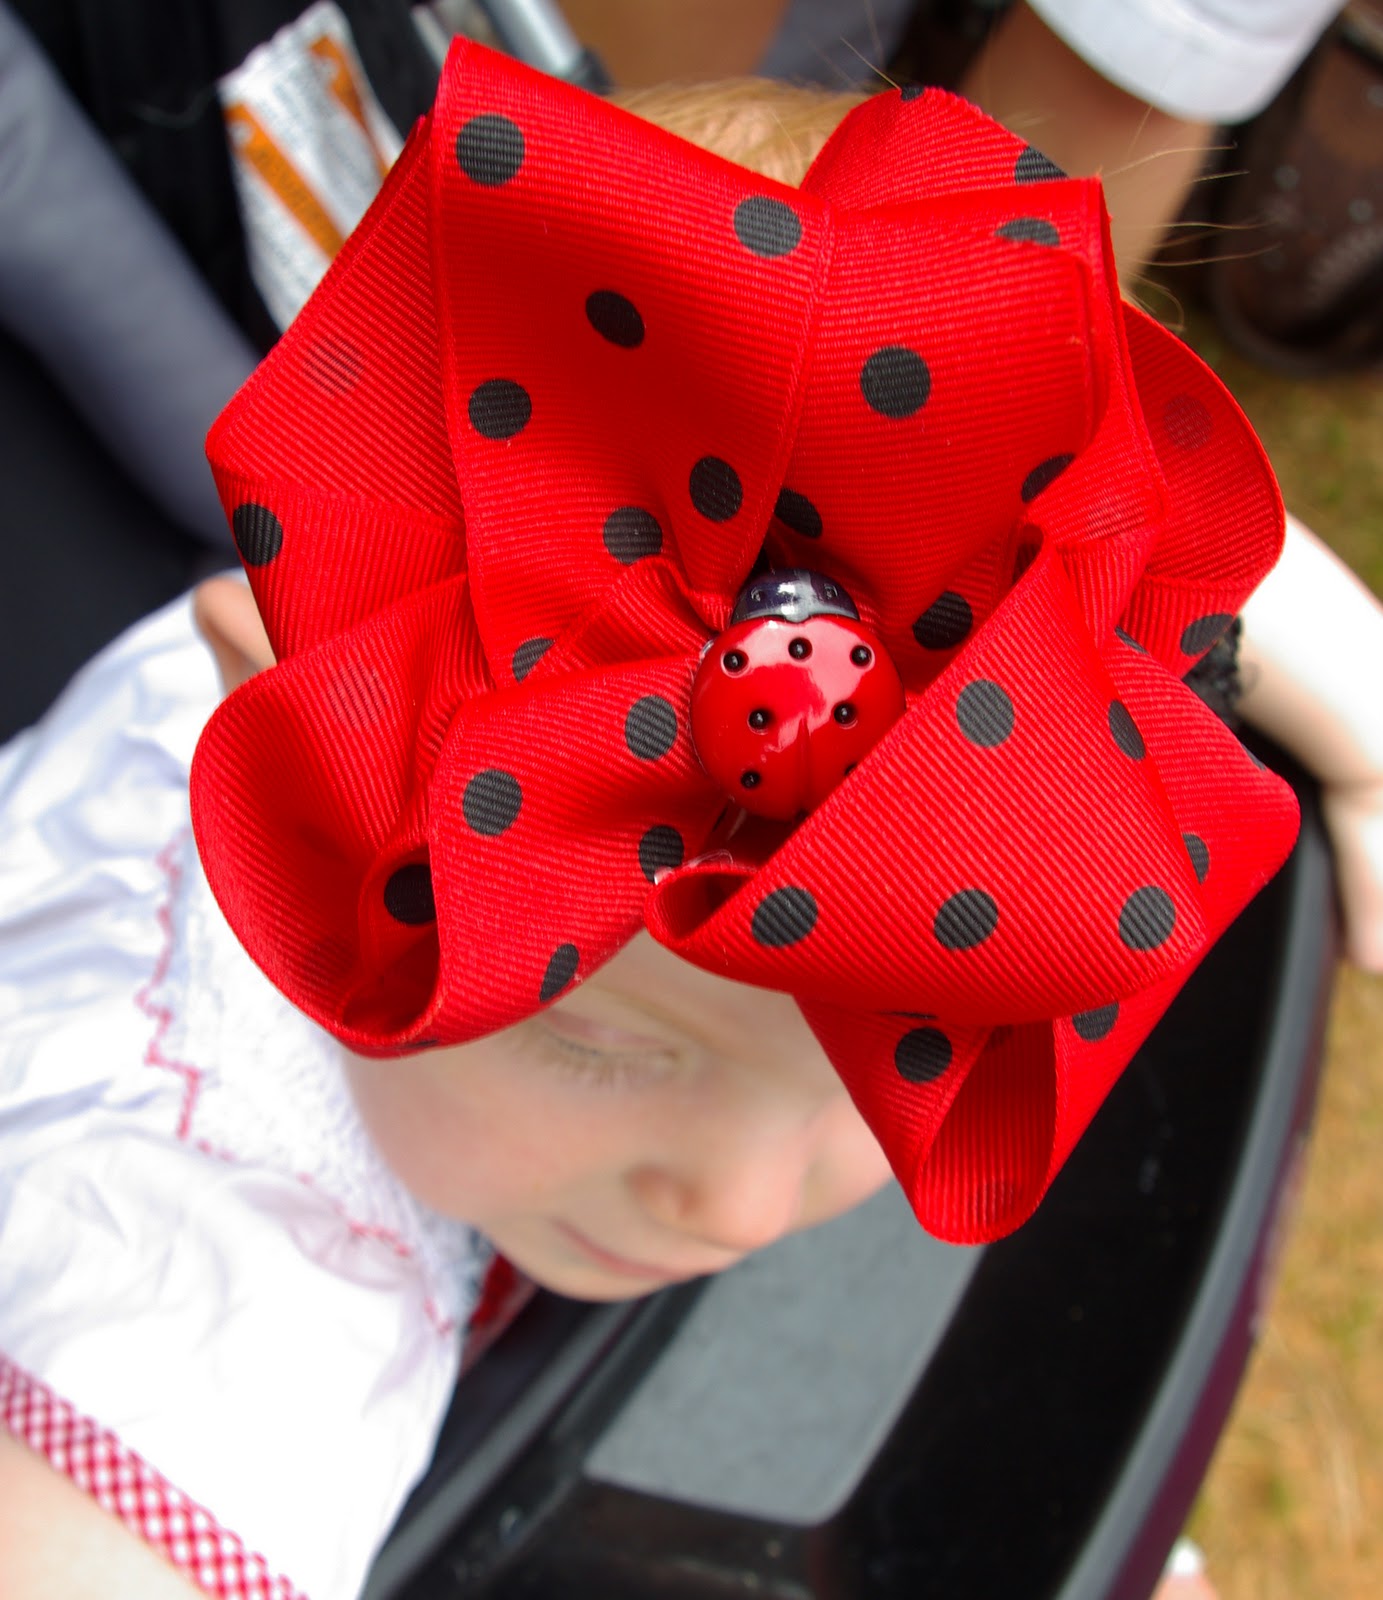
hot glue or clip on your favorite flower or bow!
finished product:
there are so many variations to this you could easily have a different hat for every outfit!
with the winter months approaching, get creative and get your kiddies involved to help make some lovely winter hats!


